

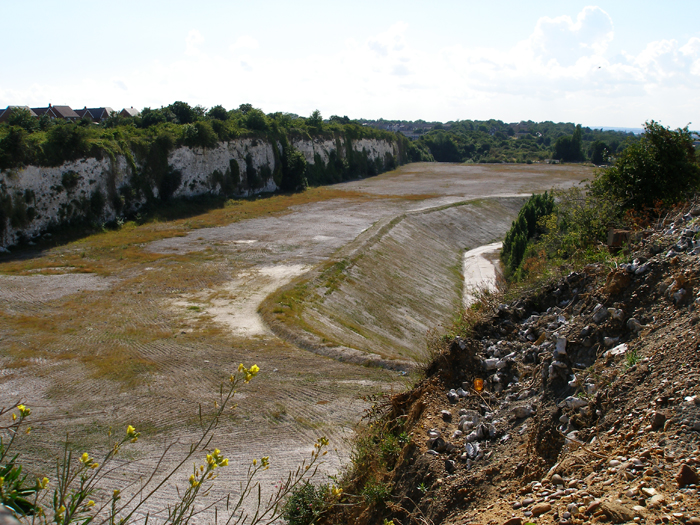
Photograph 13: This is the exhausted chalk pit on the southern side of London Road which was depicted in Photograph 1, from roughly the same viewpoint. Most of the area has been re-layered and heightened, although the original depth of the pit can be seen at the foot of the slope on the right. © David Glasspool
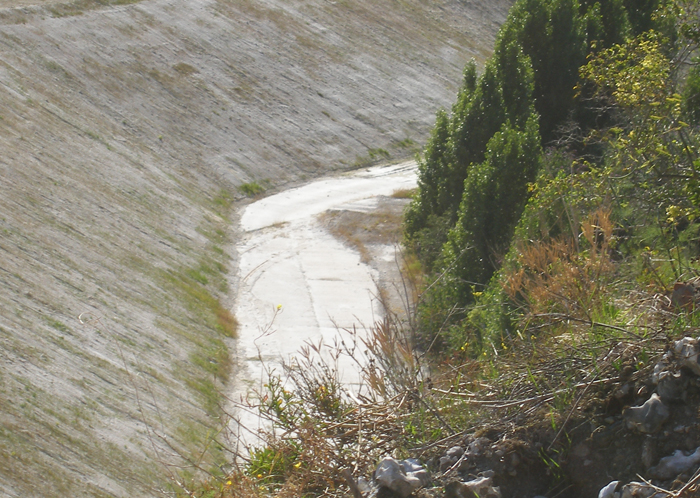
Photograph 14: Zooming in on the exhausted chalk pit, it is just about possible to pick out the curve in the track which is evident in Photograph 1, beyond the saddle tank. This curve was upon that line which lead to the exchange sidings with the North Kent Line. © David Glasspool
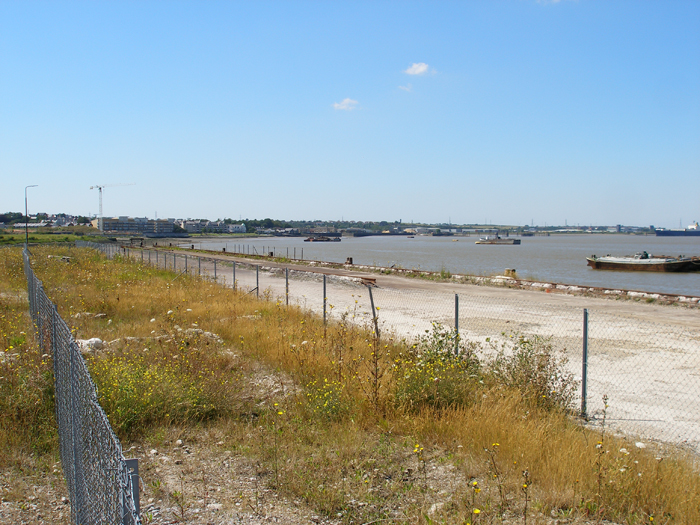
Photograph 15: Now at the Thames, the cement works' wharves still exist, track and buffers partially in evidence. This is the western of the two wharves, looking upstream. © David Glasspool
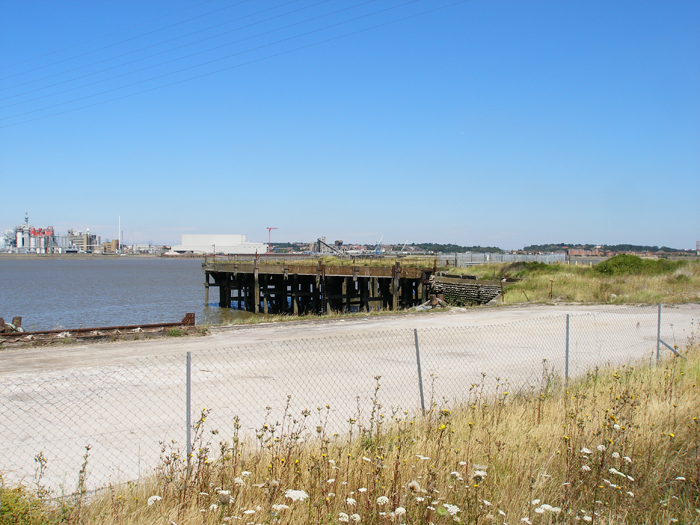
Photograph 16: This is the eastern wharf, which had acquired a healthy layer of grass and was cordoned off with palisade fencing. However, it still carried a complete formation of tracks, as many as three parallel lines at its eastern extremity. © David Glasspool
Return to the Kent Rail Homepage or alternatively, check for Updates.
Website & Copyright information - Links - Contact the Webmaster